The Cheapest Way To Sound Proof A Home Studio
https://www.youtube.com/watch?v=Vi08GwdrdY4
Another way of being a smart rapper is to know how to save money and only buy things that you actually need.
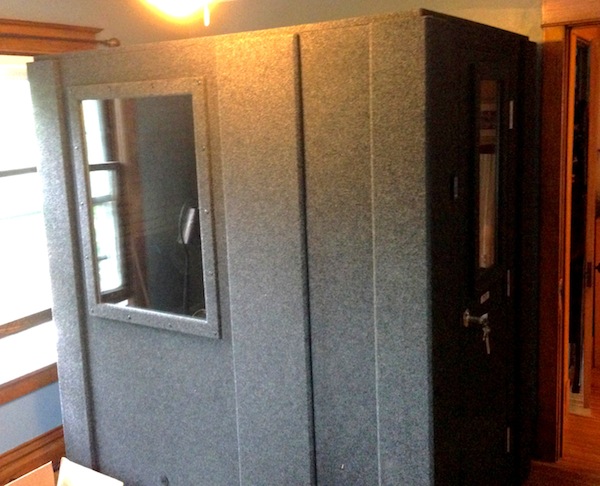
I used to think, “Damn, I need a booth. So, I need to build the frame, the door and I want the glass in that bish so it’s like a real studio booth!” I used to be such a dumb ass lol. Not so much a dumb ass… just uninformed. I spent at least a year and half dead set on wanting that booth with the glass though. :’D
Then I started learning from professional audio engineers and started learning sound dynamics, room shape, how sound works and bounces, how sound absorbs into certain types of material and other overly science like jibberish I won’t bother you with.
Finally I realized I didn’t need the booth at all. That’s some stupid hood thought process simply because people say booth so damn much. Then I figured out how to sound treat properly. What live and dead sounding air and vocals were and how the size of a room mattered. I won’t get into all of that though, maybe some other time. What we are talking about here is how to sound proof your Smart rap room for dirt cheap.

Sound TREATING and Sound PROOFING are not the same. Sound proofing is when you are trying to completely STOP sound from getting in or out of a space. Treating is simply treating a room to better control how the sound reacts in the environment. 🙂
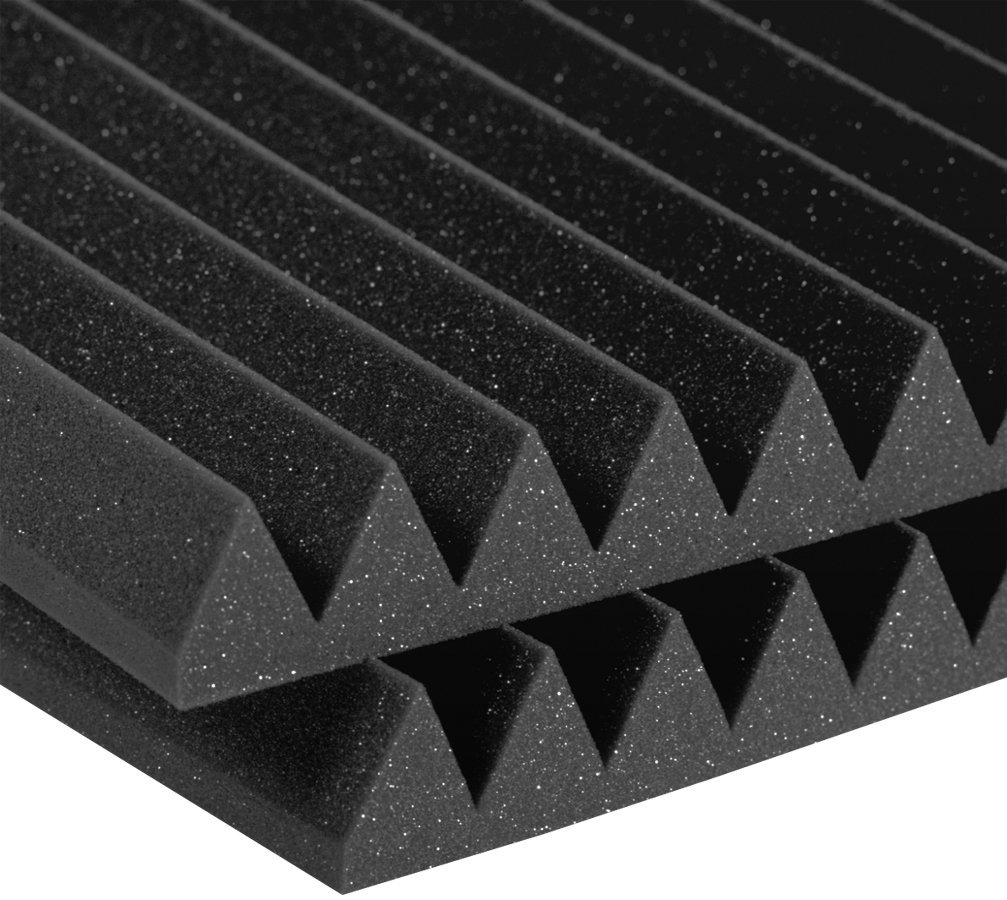
I know you have probably heard of using egg crate foam which is pretty pricey or Auralex acoustic treatment which is stupid expensive which you can see by clicking here. The thing that you don’t realize is that those expensive ass things are completely unnecessary.
I want you to realize that things like Auralex are primarily helpful when it comes to mixing room environments as opposed to recording environments. Sure, they are great, but the hell wants to spend that much money on this stuff.
When we are talking about recording in a room and stopping the echos from bouncing everywhere. All you need is some of these. That’s right!!! That’s all you need for a recording room. Staple them to the ceiling in a way that they make a booth sized area. Then put your microphone in the middle. To stop corner echoes put them diagonally in each corner of the room.
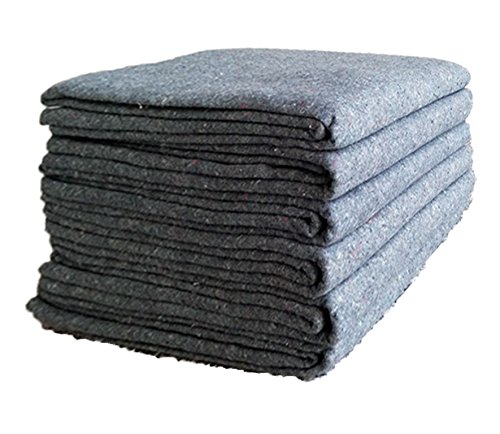
What these things do is stop the sound from your vocals from bouncing off of the walls and back into the microphone. When spaced properly it still leaves room for the vocals to have some life.
I have made professional acoustic treatment specifically for mixing my own vocals. So at the moment, I have both professional home made treatment and the things I showed you here. For that tiny amount of money you can treat an entire room to record vocals just as good as a booth would.
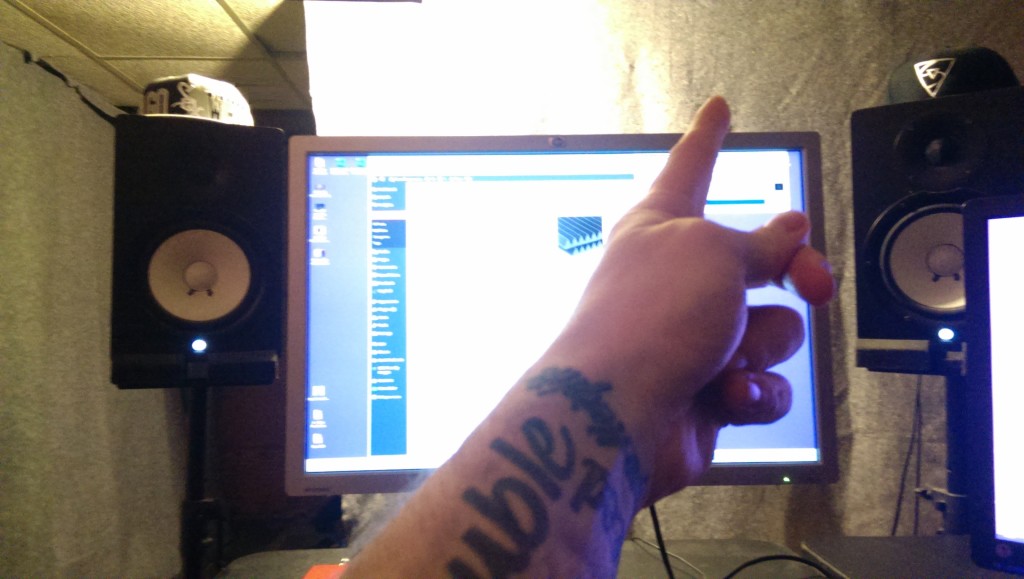
For proof that I use them, here is a picture of me writing this article right now with the item directly behind my computer and to my left haha
In the corners I have my professionally hand made acoustic treatment. I’ll be making a quick tutorial guide on how to make them from complete scratch since they are absolutely amazing.
Honestly all the moving I’ve done over the years in my music career I am down to only having like 8 pieces left. I used to have 24 of them. You can set them any where in a room and they absorb sound way better than these blankets ever will. It’s because of the material that I made the sound treatment in the boards from.
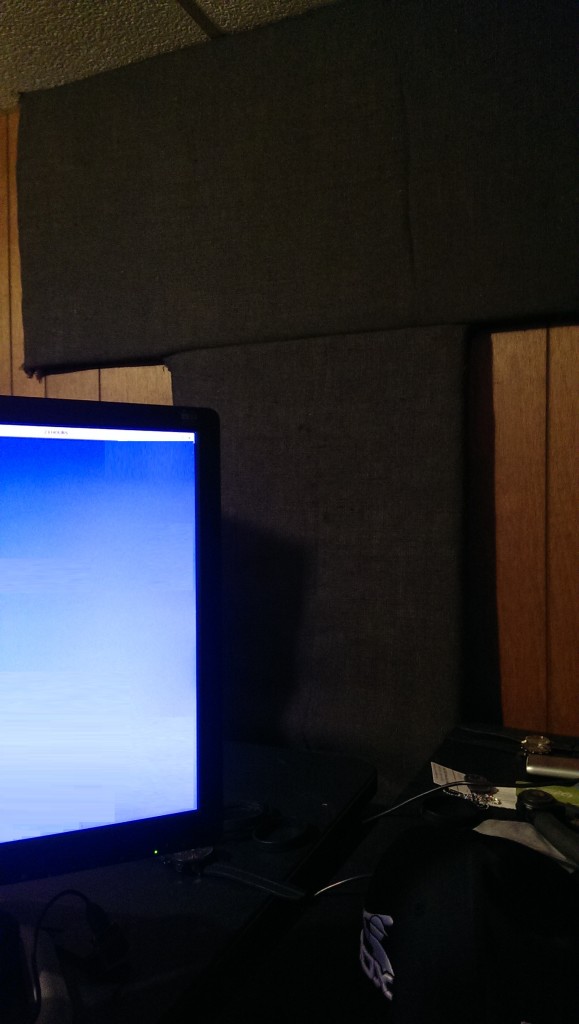
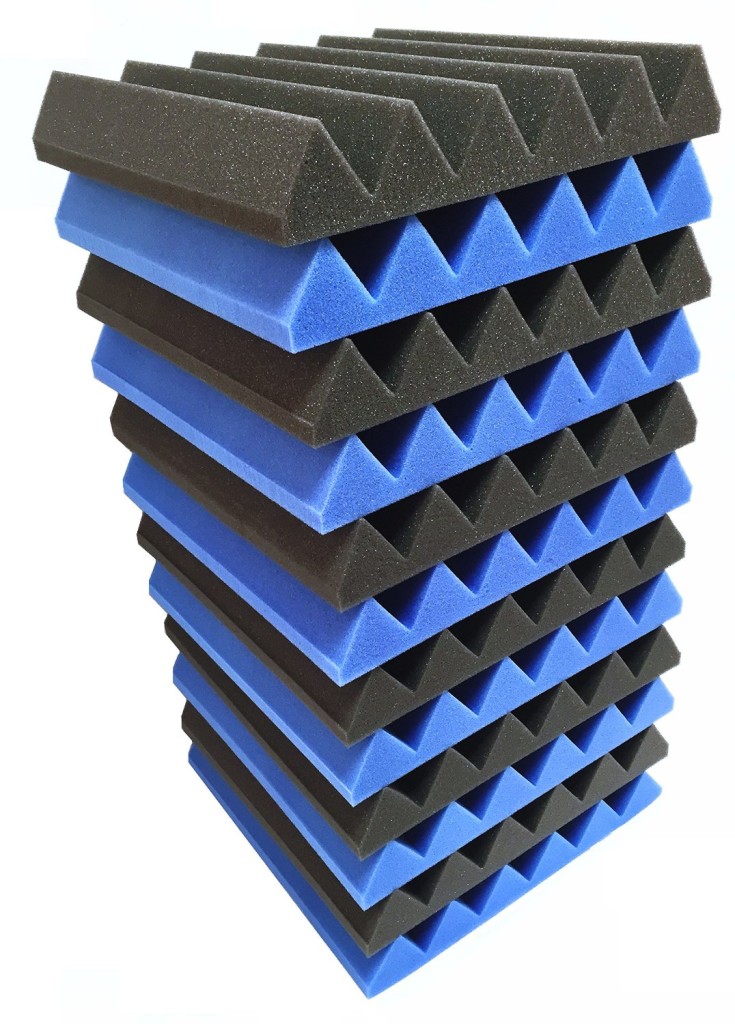
You can probably make the boards for like $120 total and they are perfect for not only recording in your home studio but setting up to mix as well. They are SUPER light and you can just set them anywhere quickly. Unlike the blankets that you’ll have to pin up.
Additionally if you want the “COOL LOOK” and some decent sound proofing you can get that for cheap here.
Until then go scoop the free tools I offer by signing up the my e-mail list and I’ll make sure to slide you an e-mail when I release that info.
https://smartrapper.com/RapperTools


I came across some additional acoustic treatment at an amazing price and figured I’d update the page so you had more options.
Plus with these you can really really make your studio look a lot cooler for other friends that come over to record.
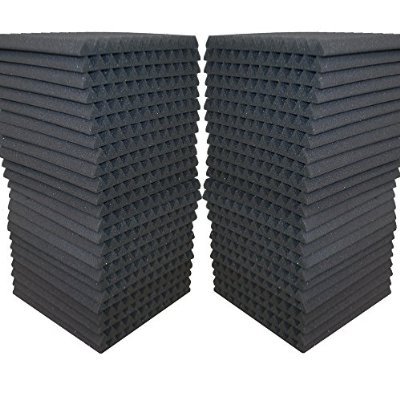
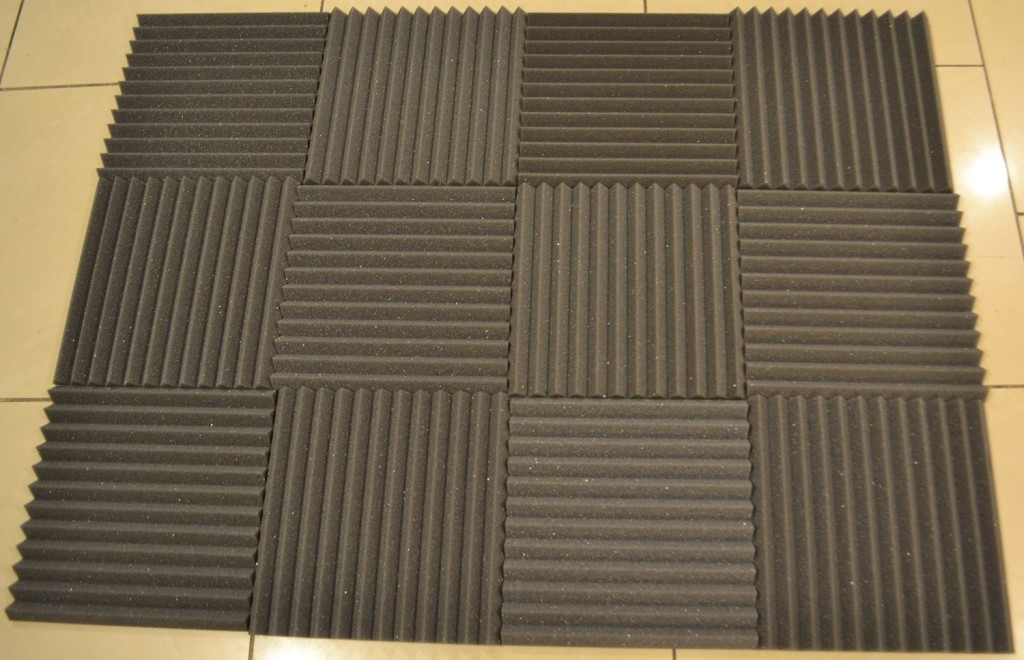
I found a 48 pack of 1 foot by 1 foot (1 inch thick) acoustic pads. That means you can cover 48 Square feet of your bed room with this.
Check these out here or click the picture.

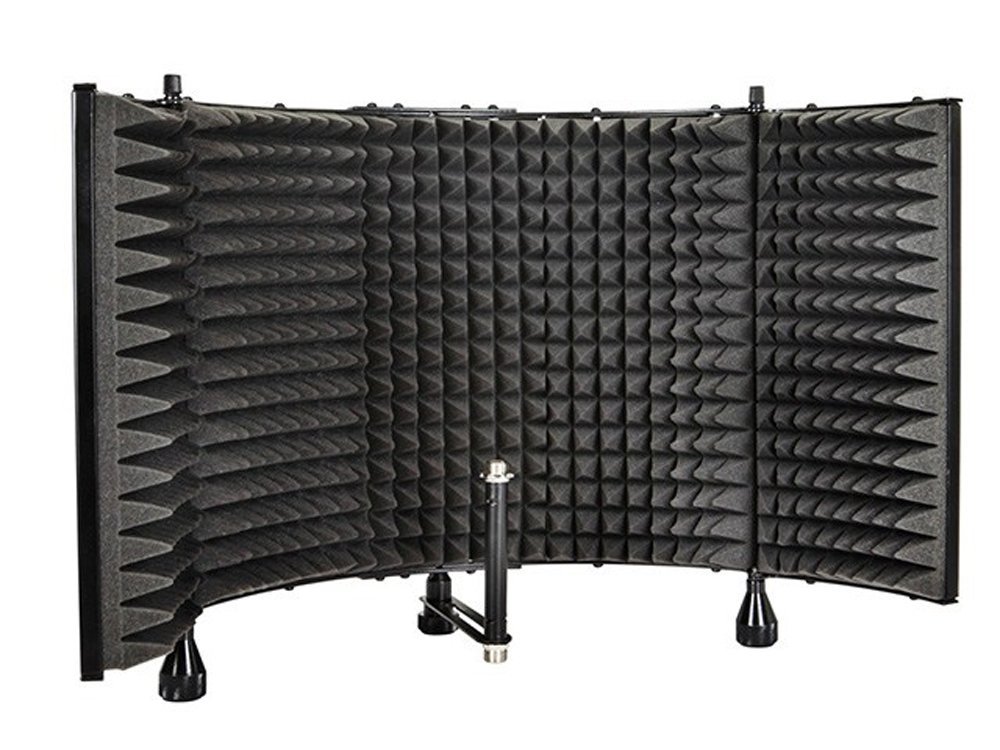
Then I also found this super sick acoustic shield.
You just set your microphone in it and it absorbs the sound waves before they can bounce around the room and cause any interference.
You can check the acoustic treatment shield out here or click the picture.
I’ll update again if I find anything I think you might find useful! Good luck my friend.

